
Help centerCardsCreating a card
Creating a card
Go to Cards and click New card. The wizard has five steps: card type, settings, details, signup form and design. You can go back at any point before you click Create card.
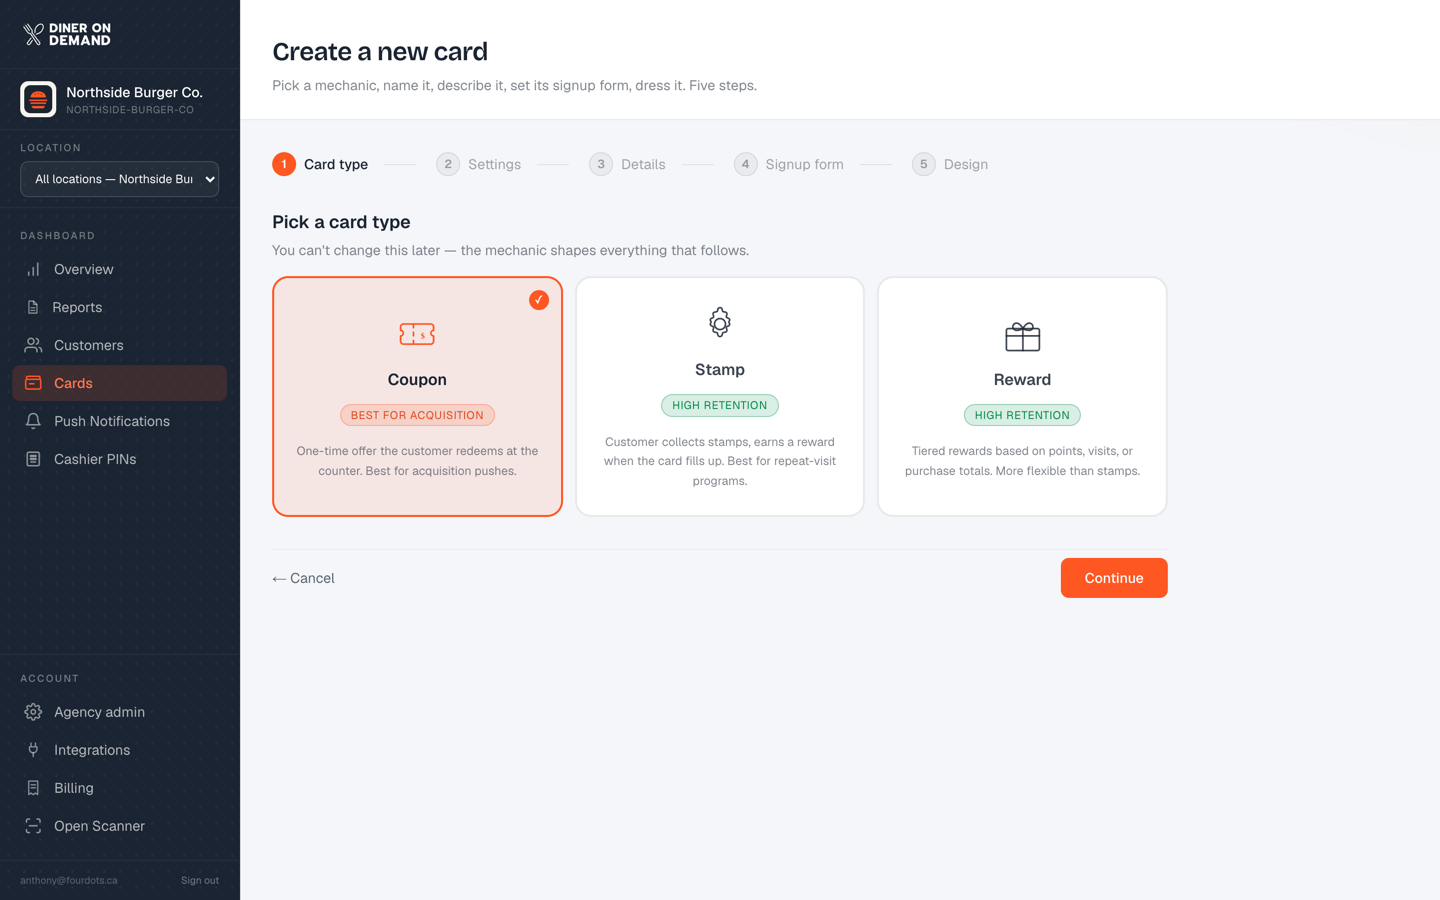
Step 1: Card type
Pick coupon, stamp or reward. This is the one choice you can't change later. See Card types.
Step 2: Settings
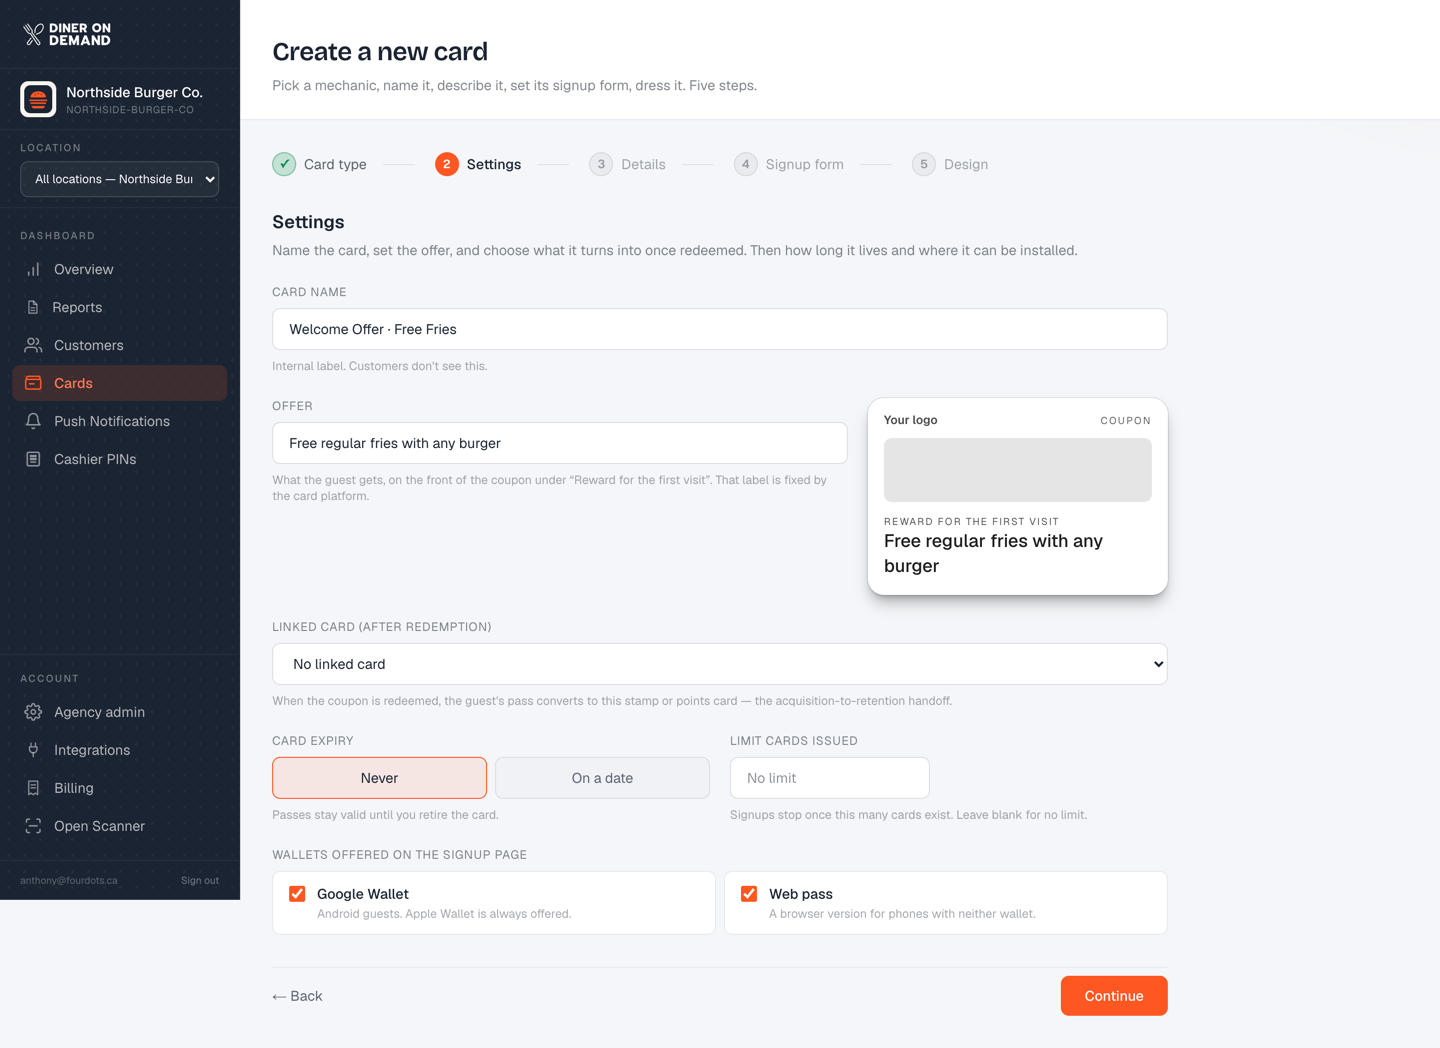
- Card name. An internal label. Guests never see it.
- Offer (coupons only). What the guest gets, shown on the front of the card under "Reward for the first visit". The preview on the right updates as you type.
- Linked card (coupons only). The stamp or points card the guest's pass turns into once the coupon is redeemed. See Linking a coupon to a loyalty card.
- Stamps to earn a reward and Reward (stamp cards only). How many stamps fill the card, what a full card is worth, and optional fine print. "Buy 7, get a free coffee" is seven stamps and a reward called Free coffee.
- Card expiry. Never, or on a date. Use a date for seasonal offers.
- Limit cards issued. Blank means no limit. Set a number to cap a promotion.
- Wallets offered. Apple Wallet is always on. Untick Google Wallet or the web pass if you don't want them offered.
See Card settings: expiry, limits and wallets for the details.
Step 3: Details
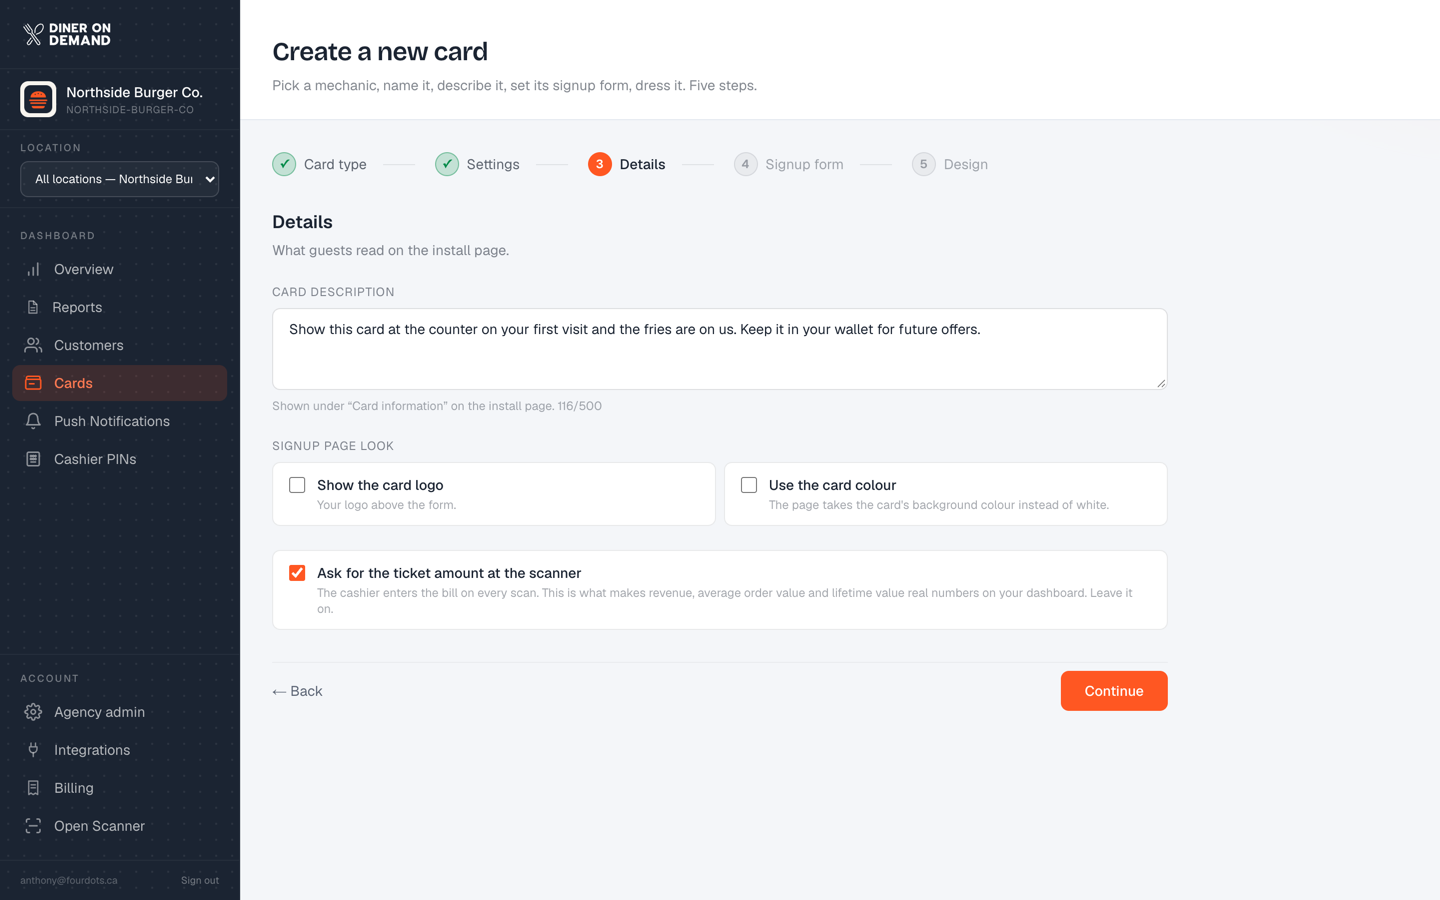
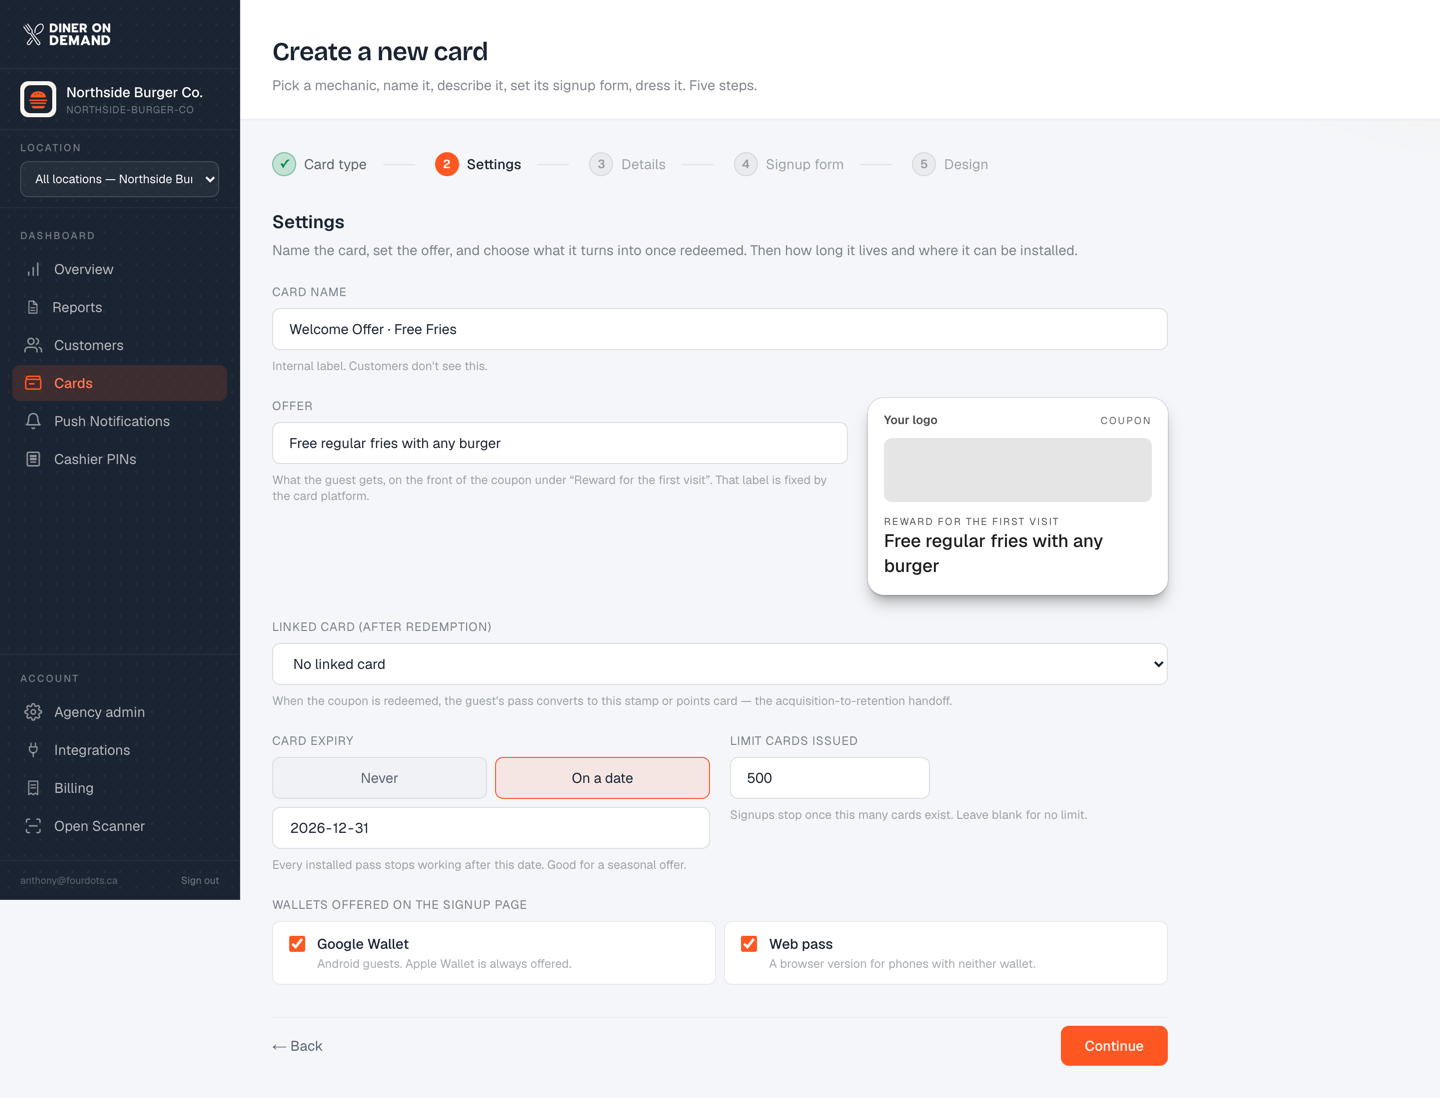
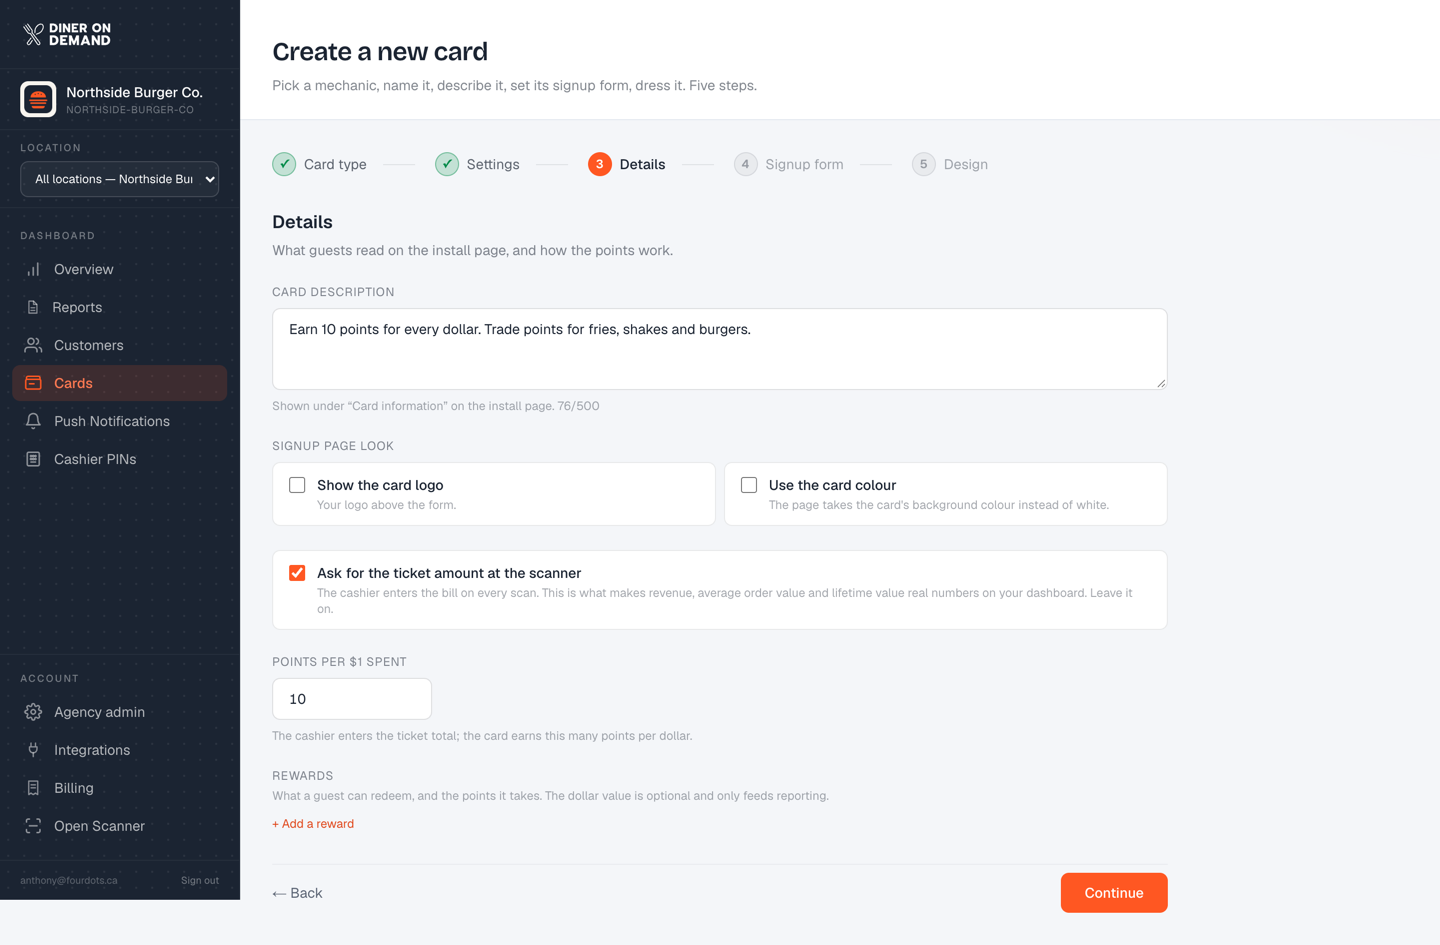
- Card description. Shown under "Card information" on the signup page. One or two sentences on what the card is for.
- Signup page look. Show your logo above the form, and use the card's background colour on the page.
- Ask for the ticket amount at the scanner. Leave this on. It's what makes revenue, average order value and lifetime value real numbers. See Why the ticket amount matters.
- Points per $1 spent and Rewards (points cards only). Set the earning rate and add each reward with the points it takes.
- Scans per guest per day and Happy hours (points cards only). Cap how many scans a day earn points, and multiply points during quiet stretches, for example double points weekdays from 2 to 5 pm.
- Progress text, Reward earned text and Stamps per guest per day (stamp cards only). What the pass says while the card fills (
{#}becomes the stamps still needed) and once the reward is earned, plus a daily cap so nobody fills a card in one sitting.
Step 4: Signup form
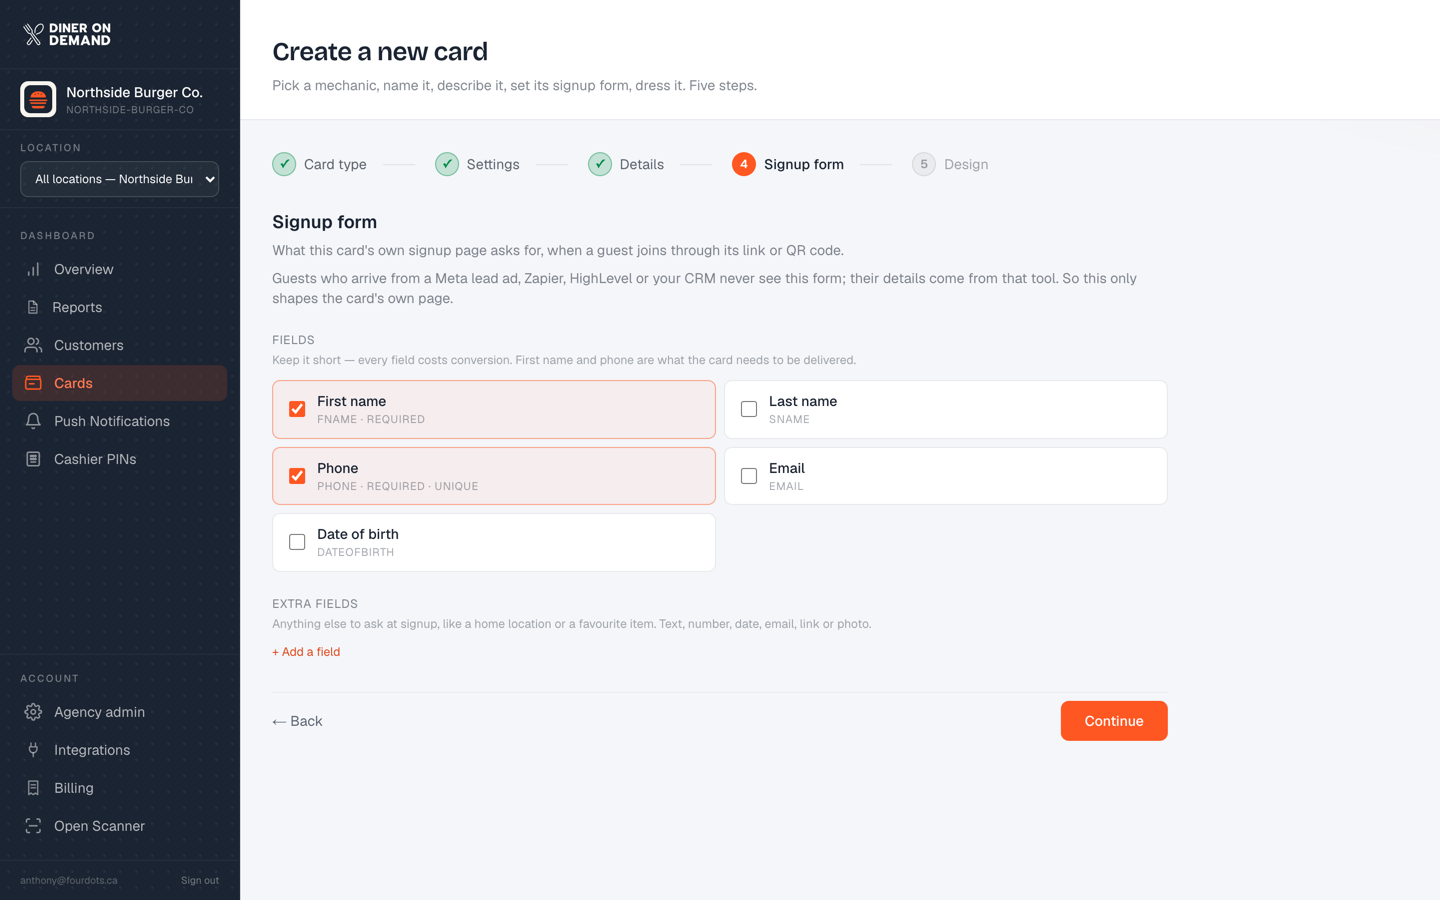
What your signup page asks for when a guest follows this card's link or QR code. First name and phone are always on. Add last name, email or date of birth, or your own extra fields, and mark any of them required. Guests who arrive from Meta lead ads, Zapier, HighLevel or your CRM skip this form, because their details come with them.
Step 5: Design
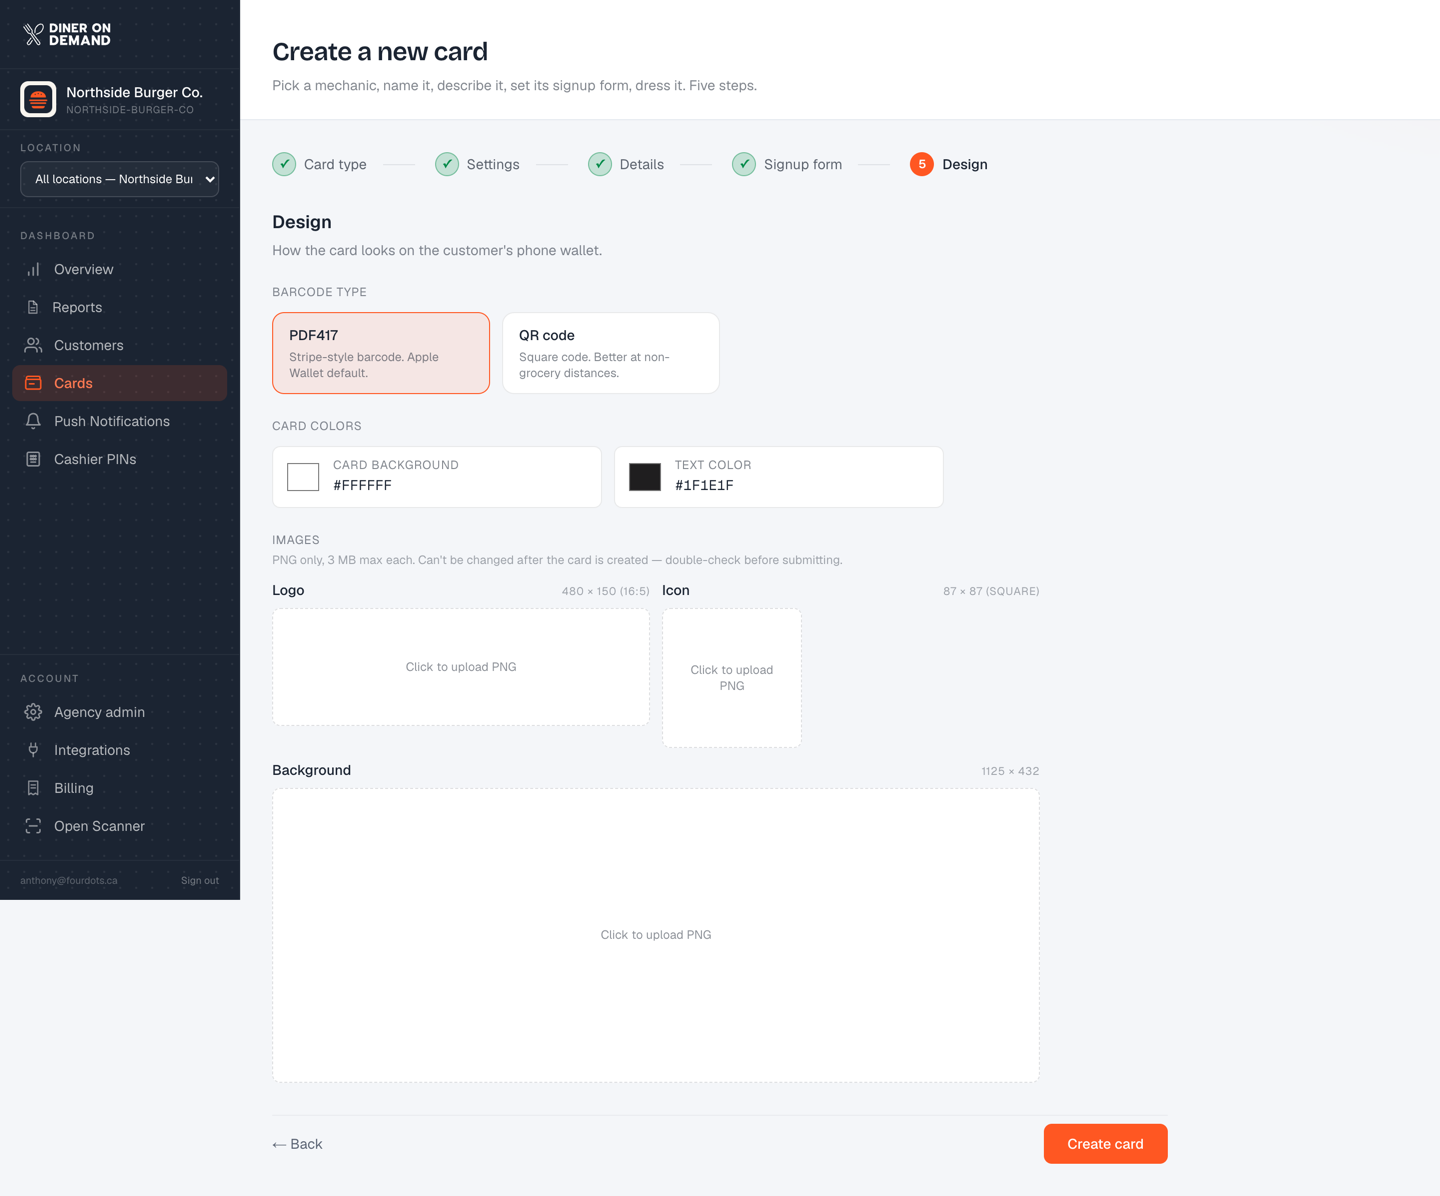
- Barcode type. PDF417 (the Apple Wallet default) or QR.
- Colours. Card background and text. Stamp cards also have active stamp, inactive stamp and stamp background colours.
- Images. Logo (480 × 150), icon (87 × 87) and background (1125 × 432), PNG only, 3 MB max. Stamp cards also take an active and inactive stamp icon (200 × 200).
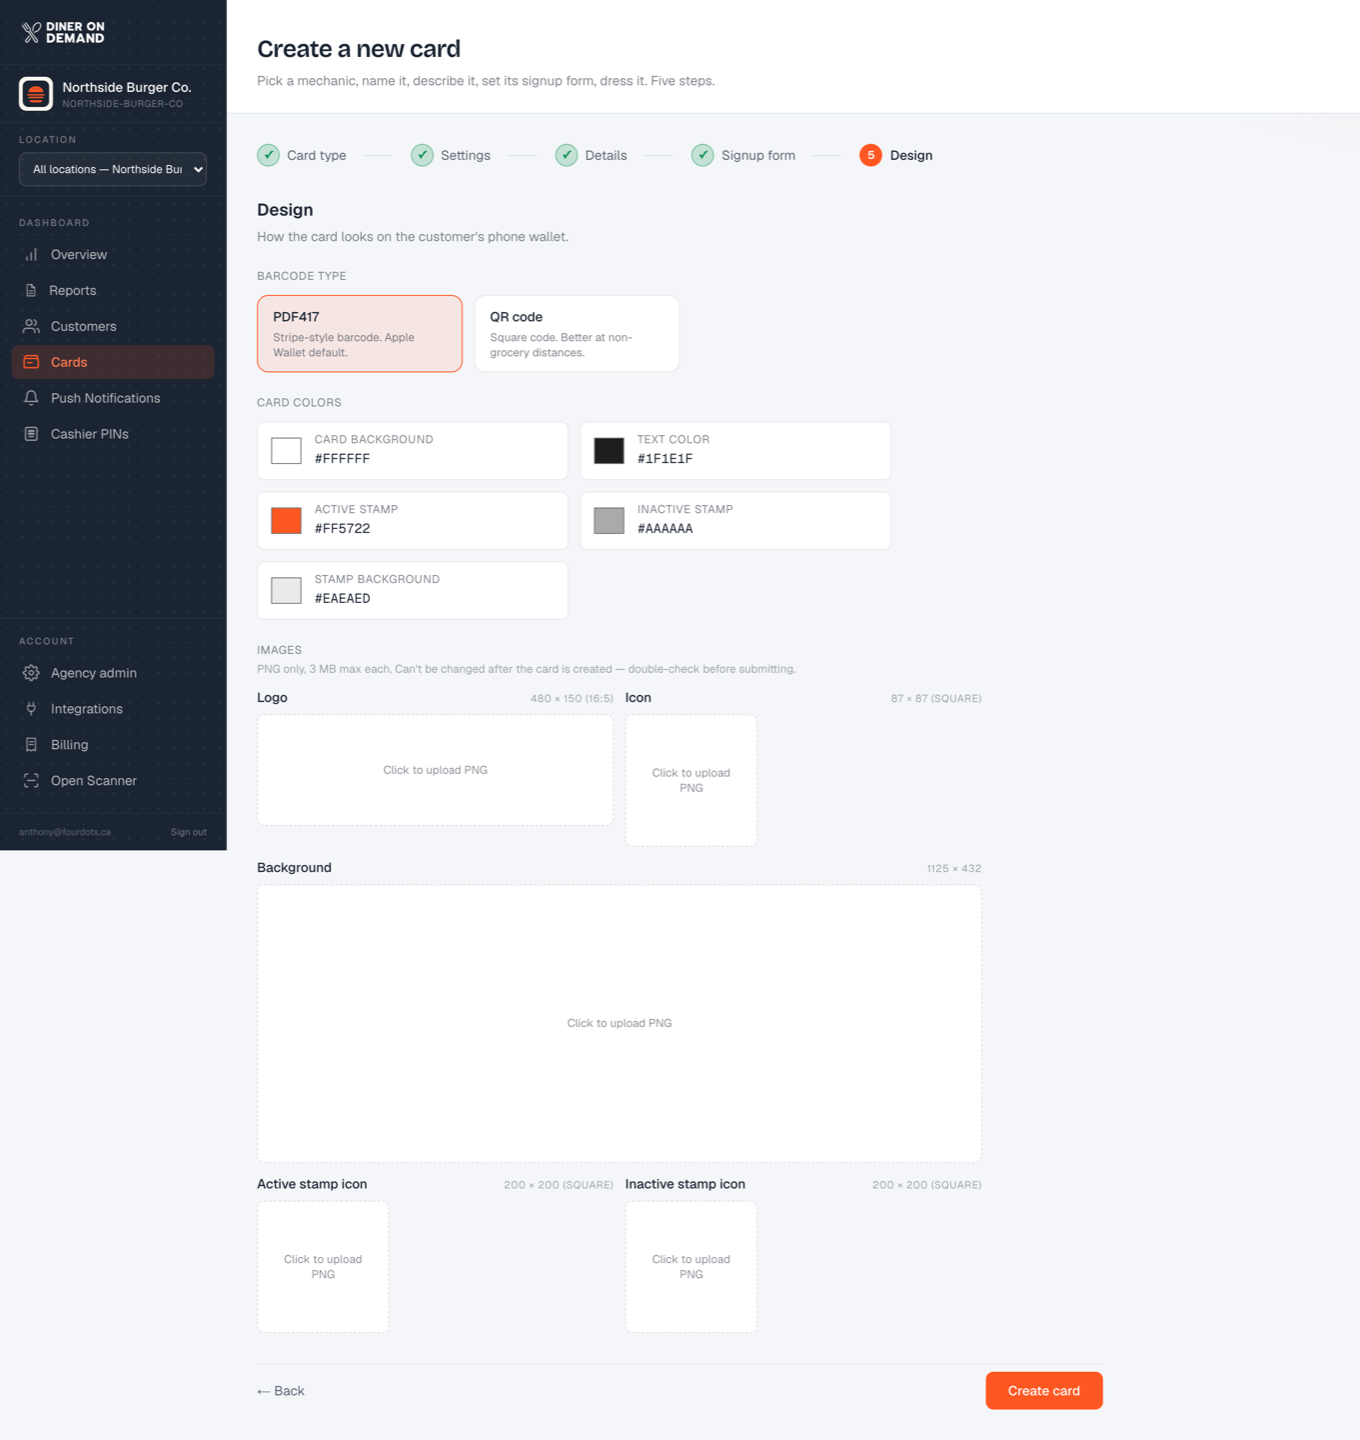
Click Create card. The new card appears in the gallery with its install link and QR code, ready to share. See Sharing your card.
Still stuck? Email support@dinerondemand.com.